Voyager 2 Quick Start Instructions
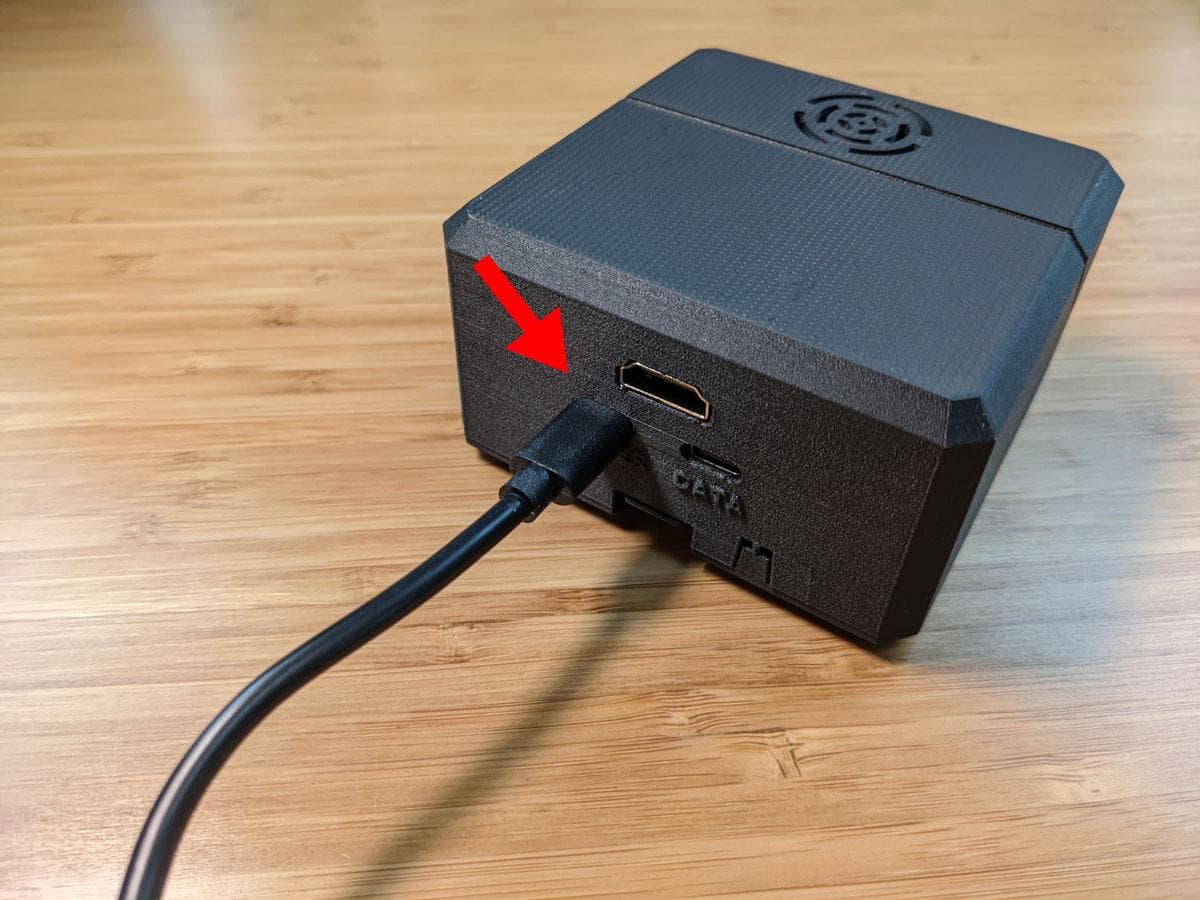
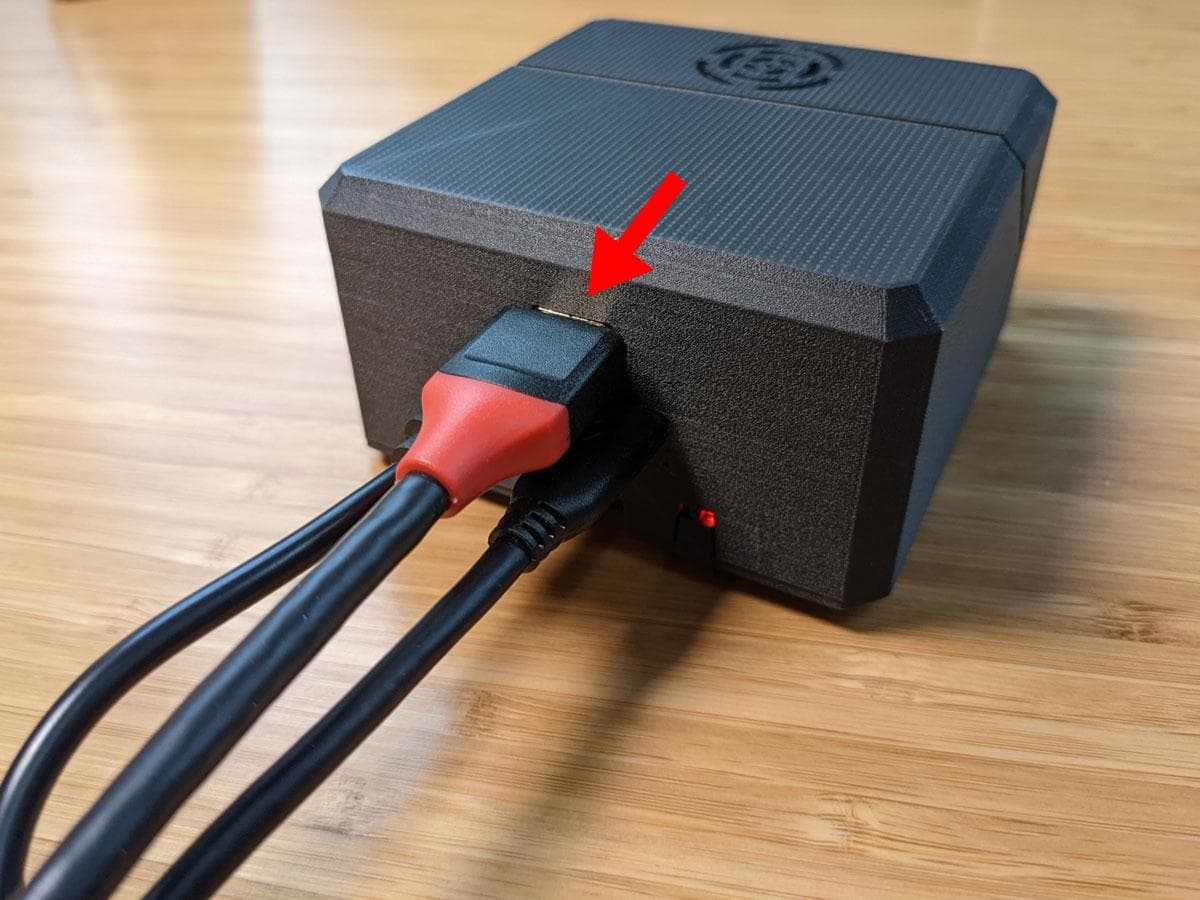
Step 1: Attach power cable
- Connect the AC to USB-C power adaptor to a power outlet.
- Connect the USB-C cable from the power adaptor to the USB-C port labeled "POWER" on the TinyPilot Voyager 2 device.

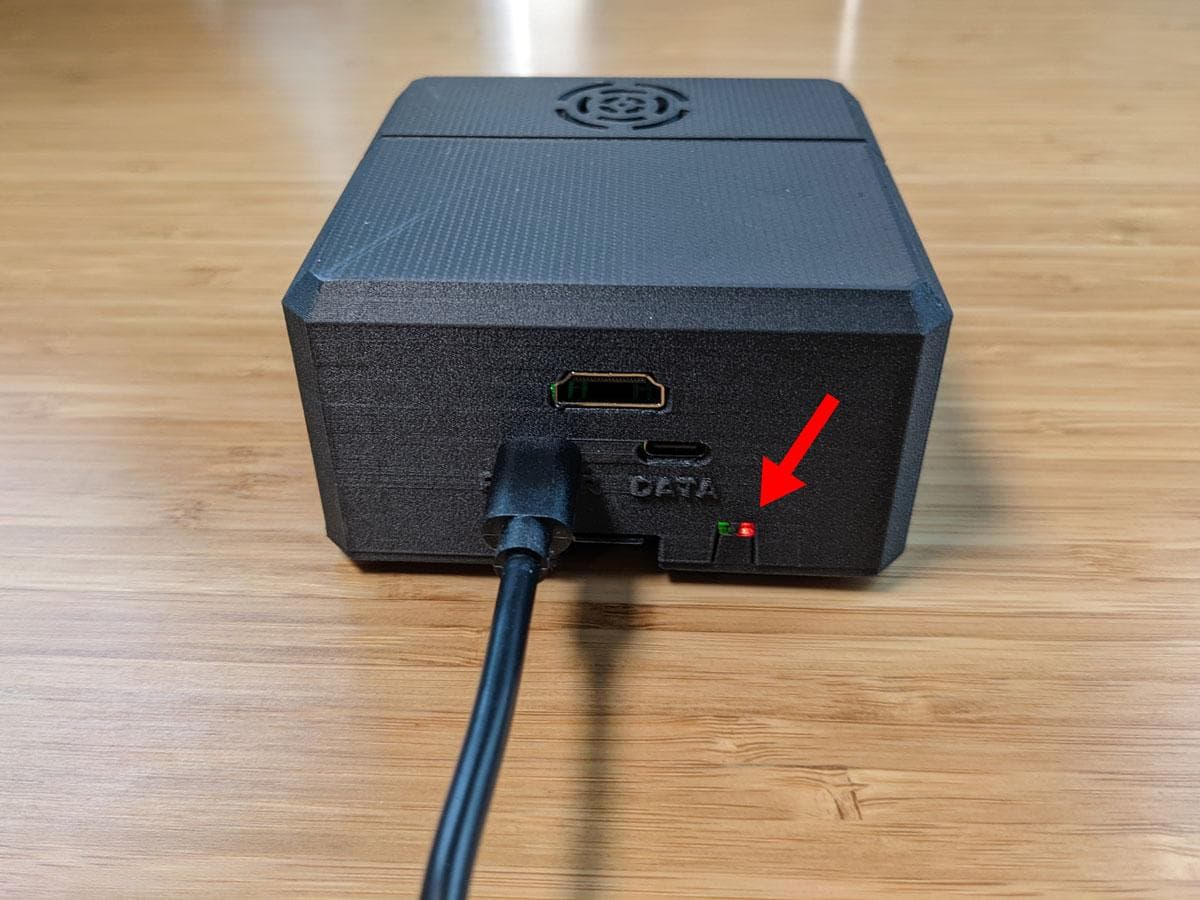
If everything is connected correctly, you should see Voyager 2's power LED shine a solid red. The disk activity LED will flash green intermittently as the device runs.
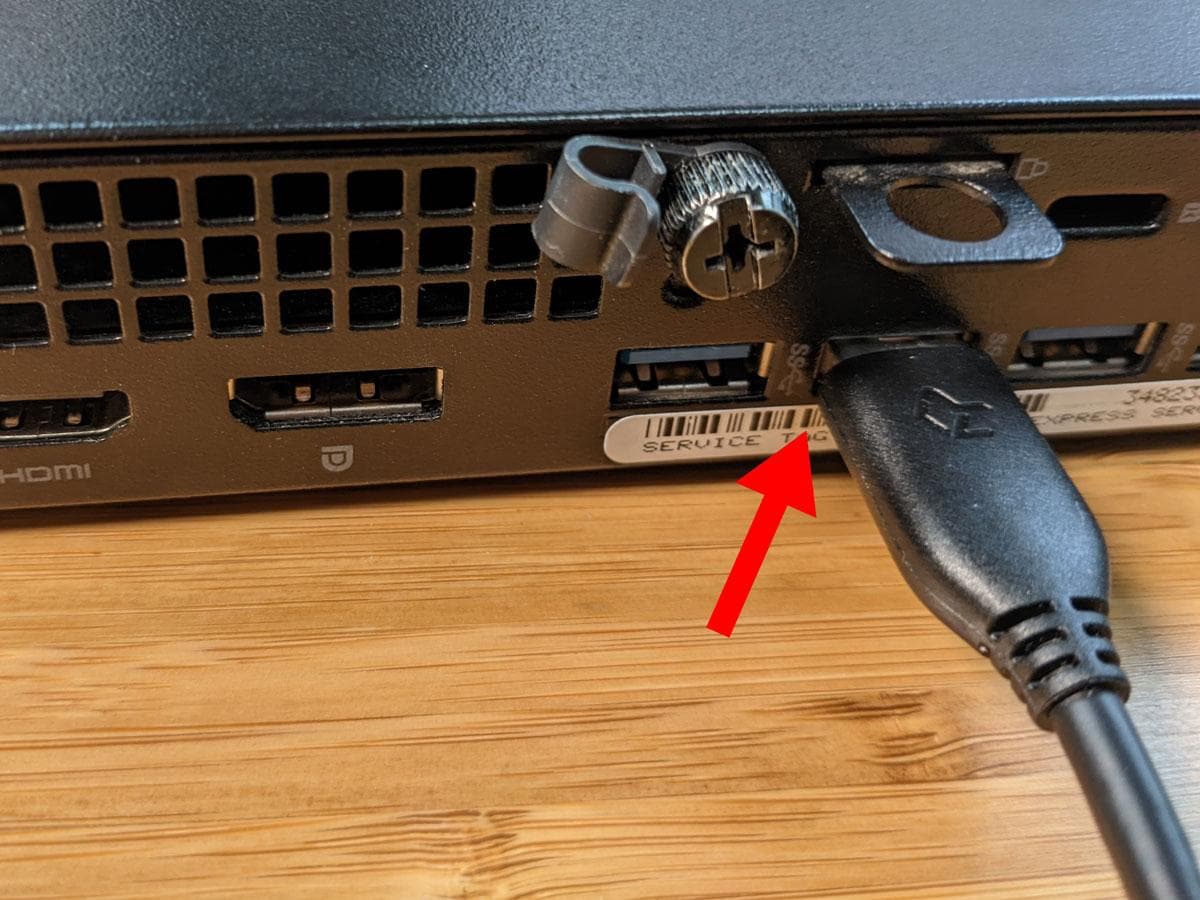
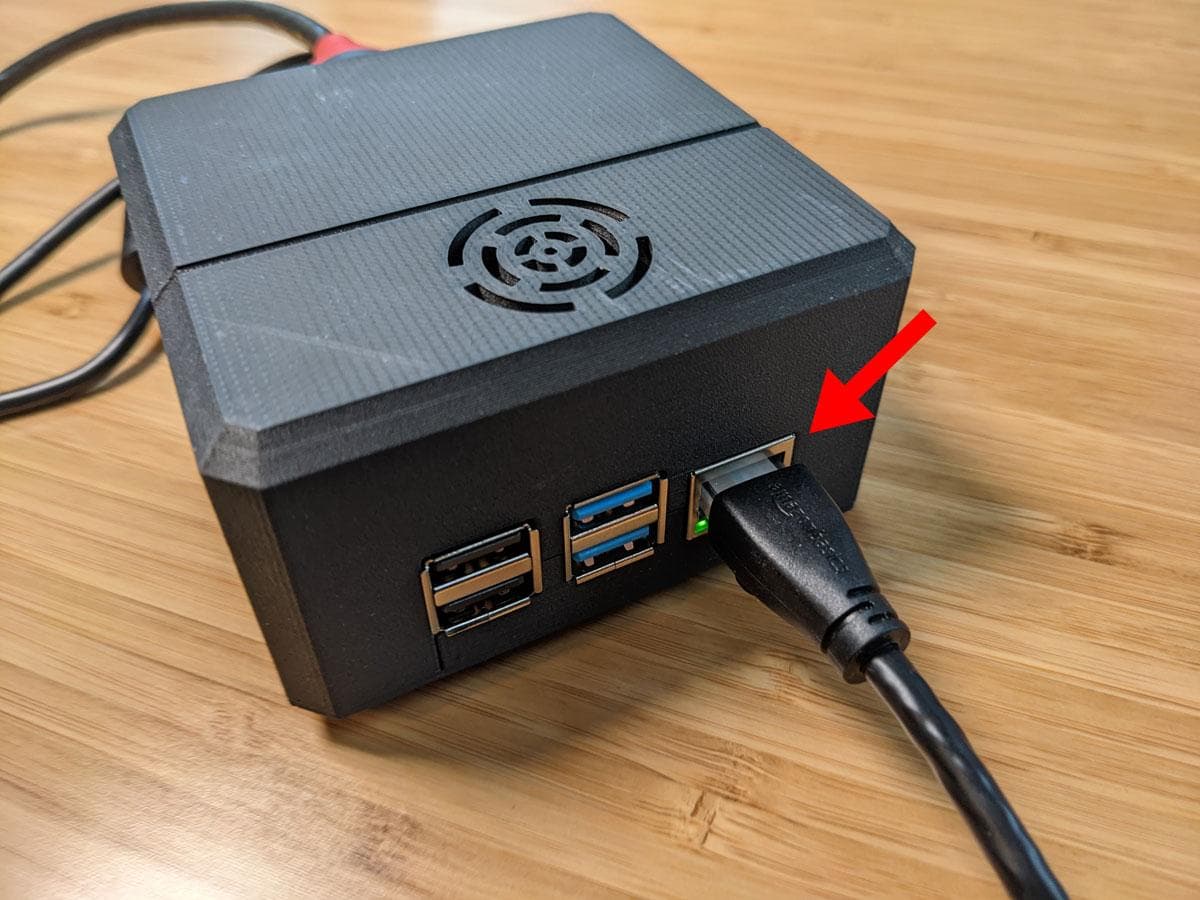
Step 2: Attach USB data cable
Next, use the USB-C to USB-A cable to connect the Voyager 2 to your target computer.
- Connect the USB-C end (rounded) of the cable to the USB-C port labeled "DATA" on the TinyPilot Voyager 2 device.
- Connect the USB-A end (rectangular) of the cable to a USB port on your target computer.

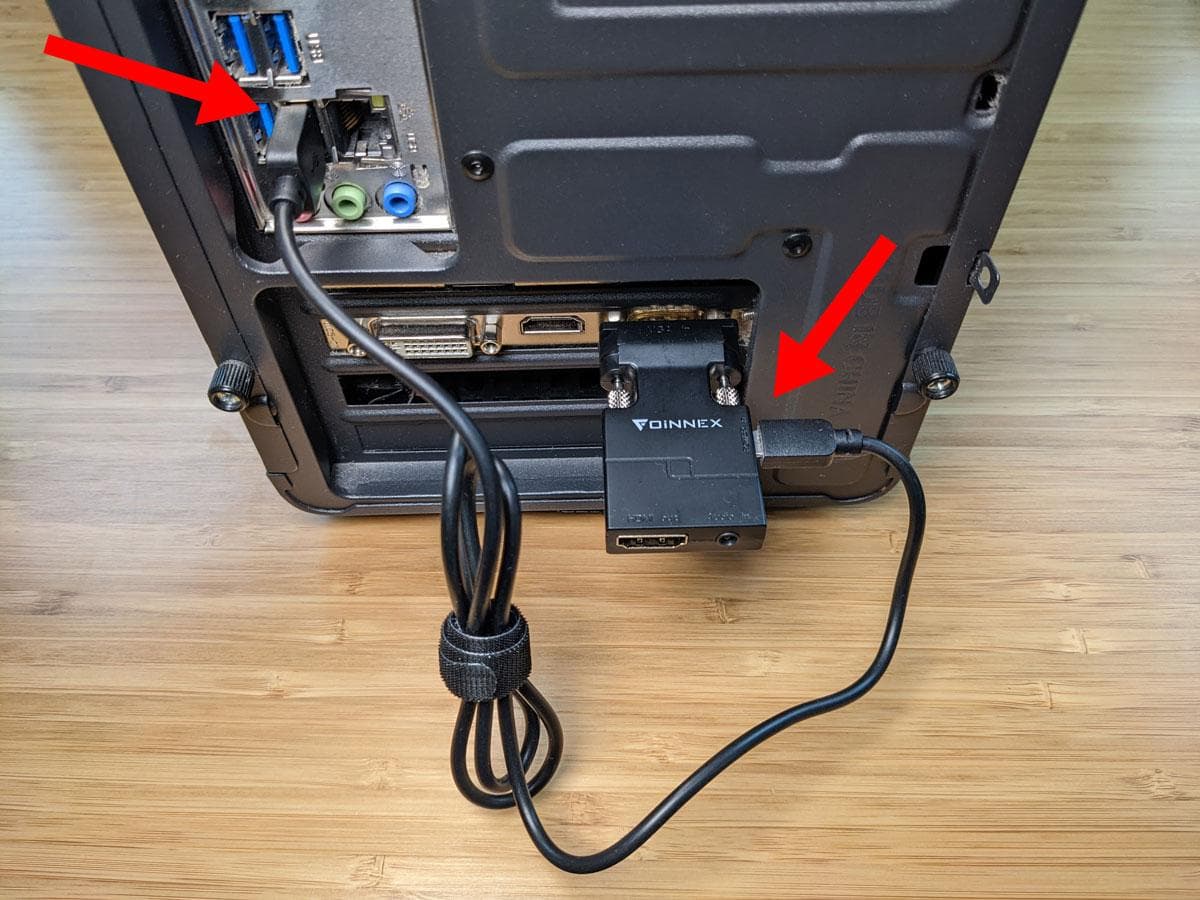
Step 3: Connect VGA to HDMI adaptor (Optional)
- Connect the VGA adaptor to your computer's VGA display output.
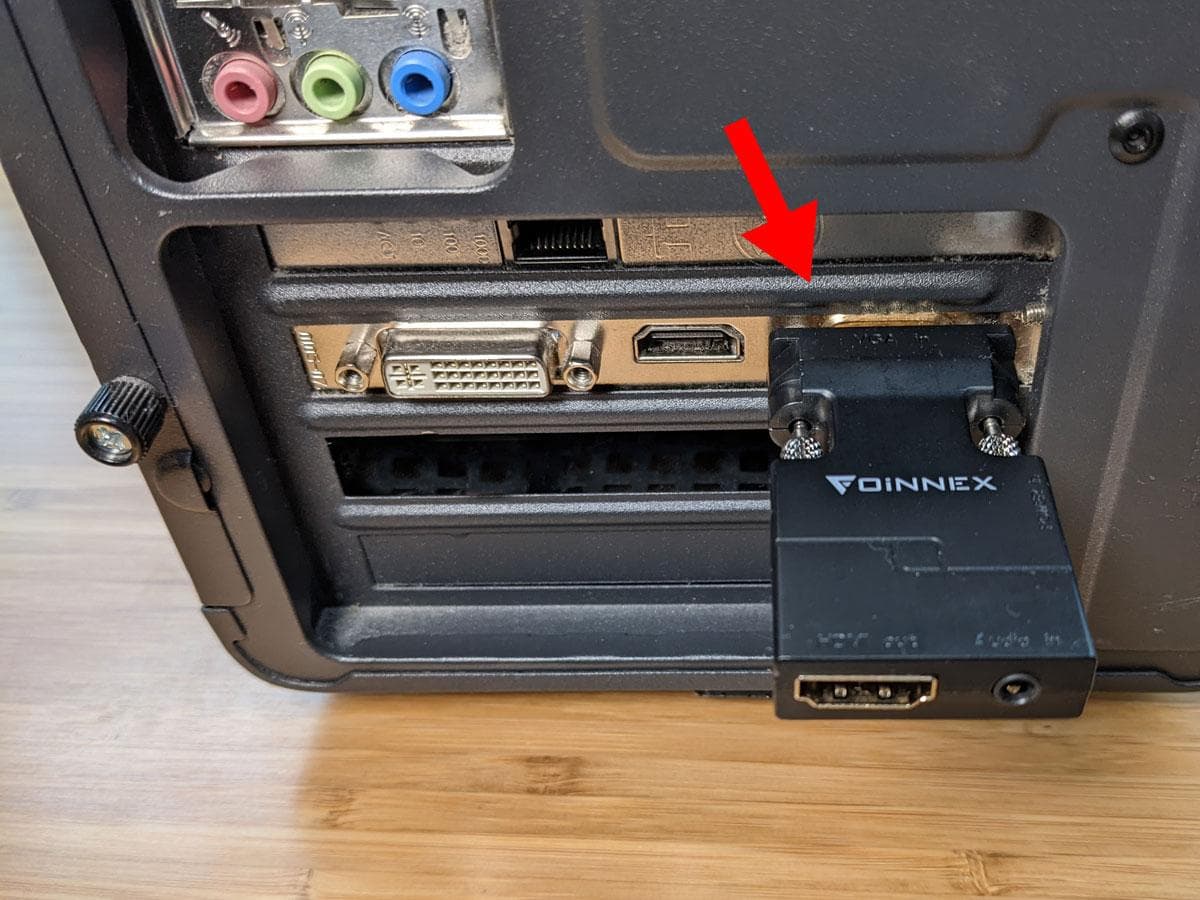
- Use the 30-inch black USB-A to microUSB cable to connect the VGA adaptor to any available USB port on your computer.
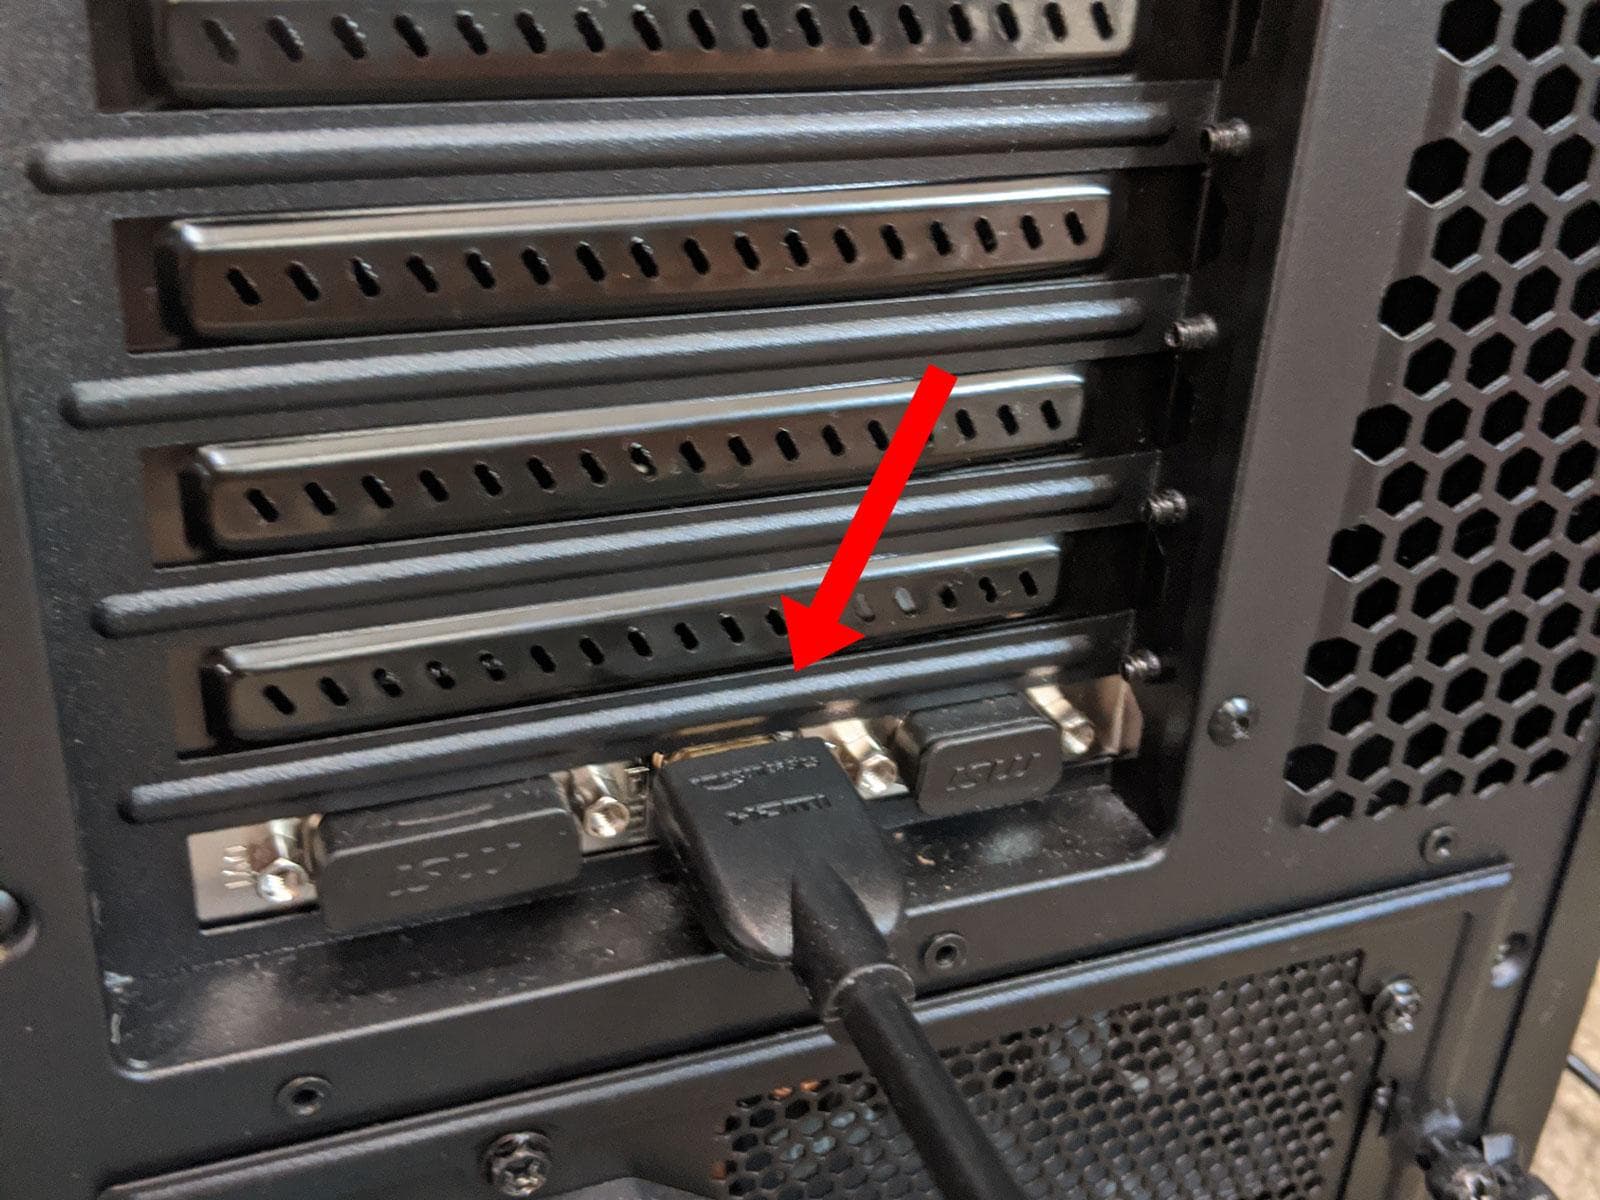
Step 4: Connect the HDMI cable
- Connect an HDMI cable to the HDMI input port on the Voyager 2.
- Connect the other end of the HDMI cable to the output display port of the target computer.
Step 5: Attach Ethernet cable
Connect to your local network by connecting an Ethernet cable to the Voyager 2's Ethernet port and connect the other end to your network router or switch.
Step 6: Access the TinyPilot web interface
With your TinyPilot booted, you can now access the TinyPilot web interface from any device on your local network by visiting one of the following URLs:
The first time you visit the TinyPilot web interface, you'll see a privacy error because TinyPilot establishes a secure connection, but your system doesn't recognize the server yet.
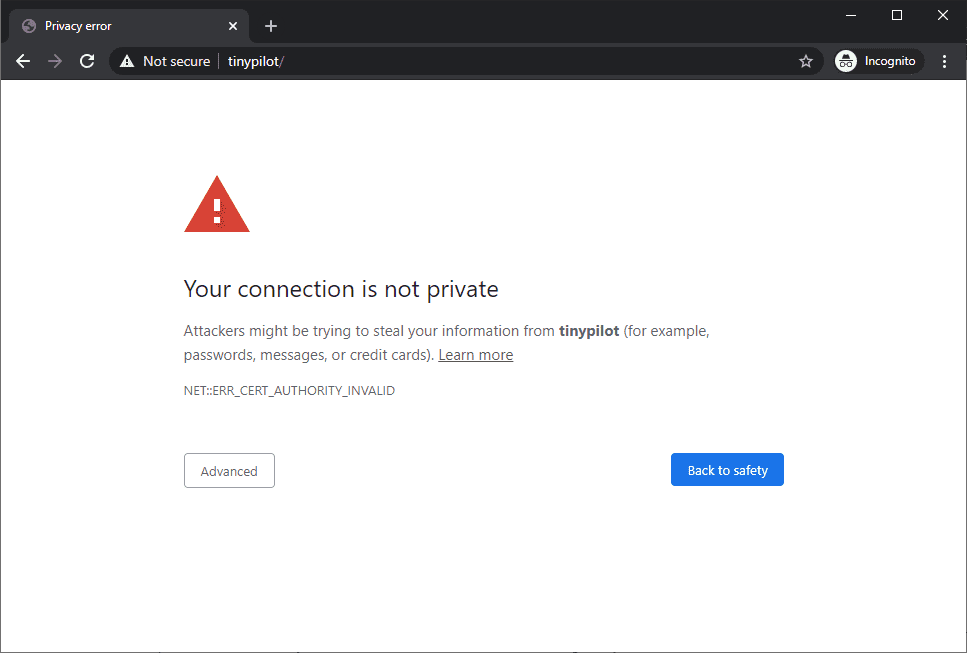
You can safely ignore this warning and proceed to TinyPilot.
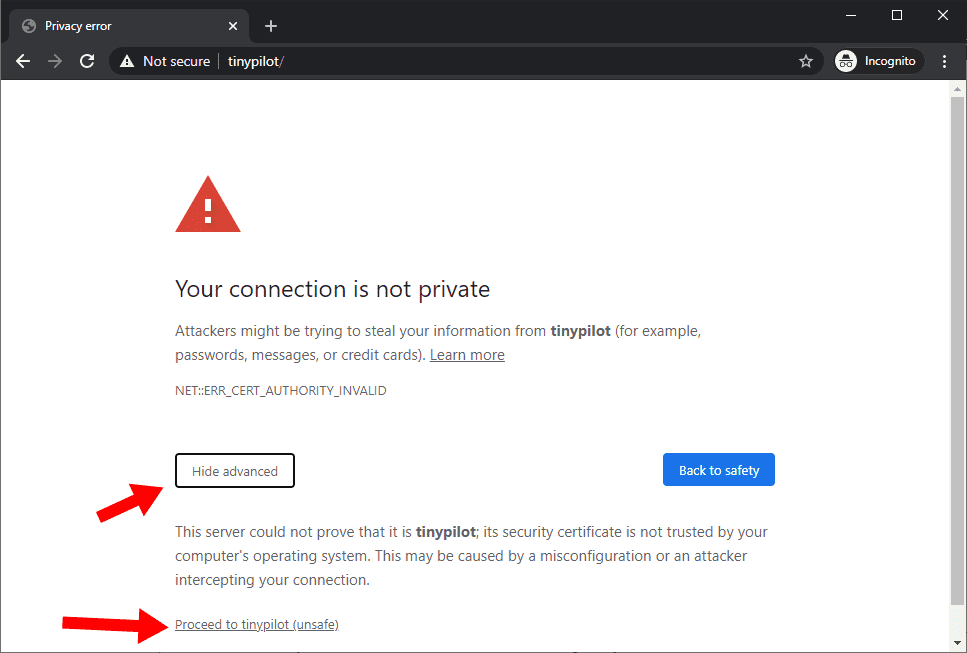
After you resolve the privacy error, you will be able to access the TinyPilot web interface. To fix the privacy error permanently, see Fix Privacy Error instructions.
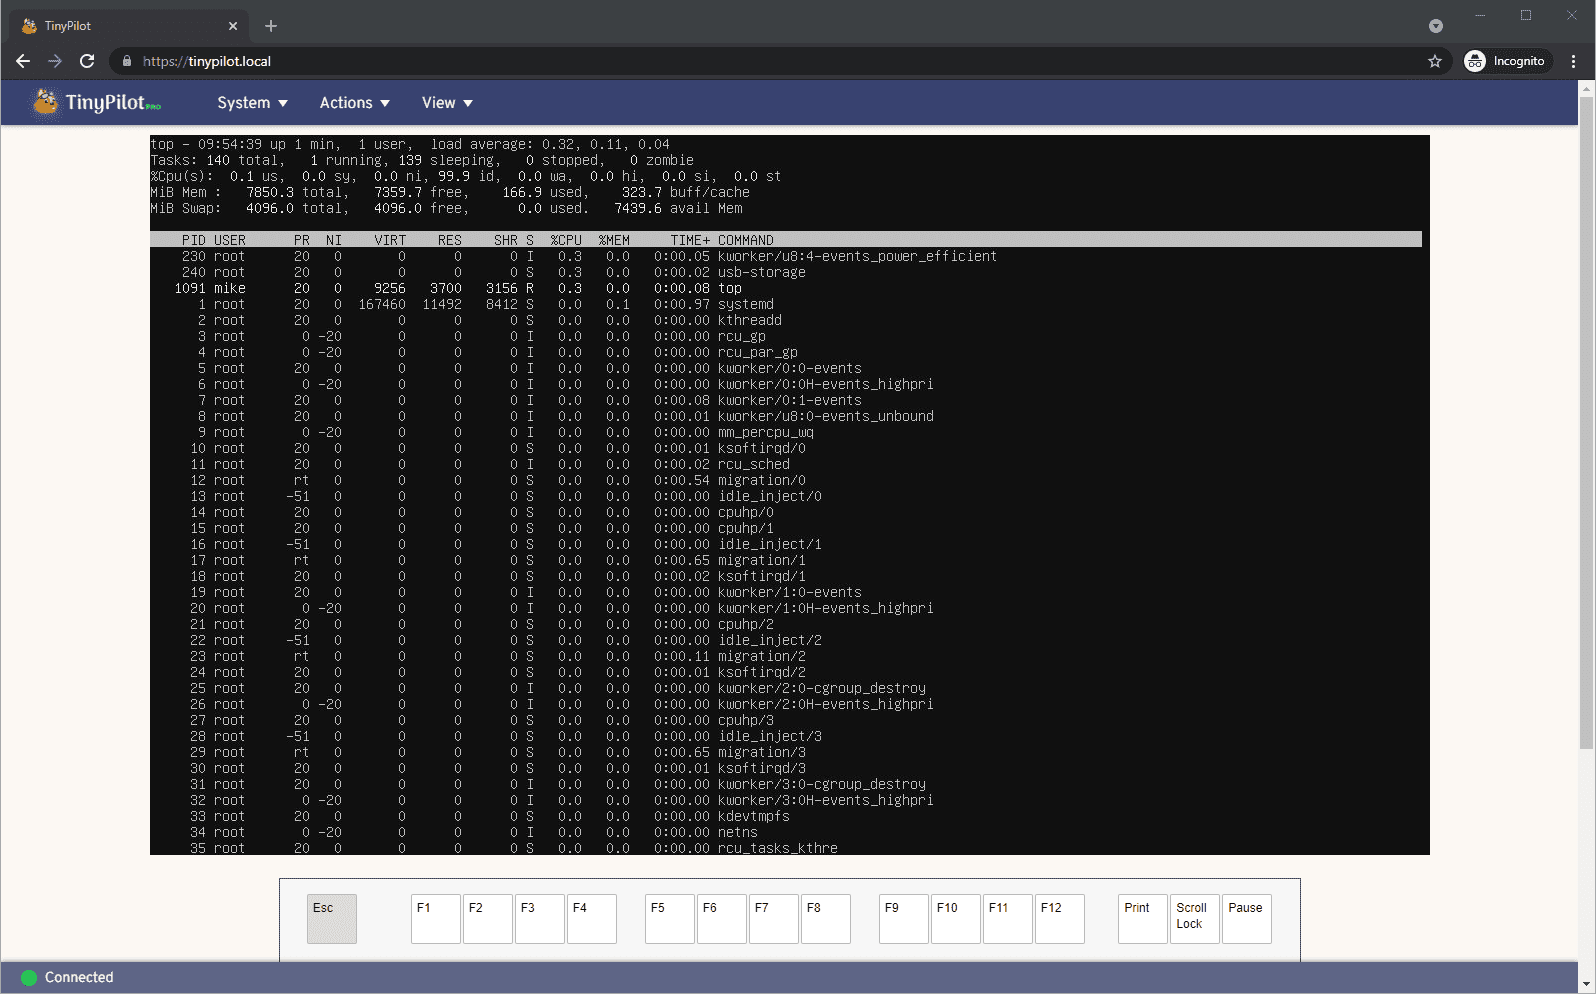
Your target computer's display output should display in the browser. TinyPilot forwards any keystrokes you enter to the target machine.
Step 7: Change SSH credentials
TinyPilot's default credentials are:
- Username:
pilot - Password:
flyingsopi
For security, you should connect to TinyPilot through SSH and run passwd to update your password.
Questions? Feedback?
How'd installation go?
If you have any questions or feedback about your TinyPilot, we'll be happy to help you in the support forum.
Join our mailing list, if you like
Find out about software updates, new products, discounts, and more.
Copyright © 2025, TinyPilot, LLC