How do I host a Wi-Fi access point with TinyPilot?
Have you been in a situation where you have no access to a network but need to use your TinyPilot? Maybe you're administering a router, and you don't want to get locked out of the network if it reboots.
In situations where you need a dedicated network for your TinyPilot, you can set up your TinyPilot as a Wi-Fi access point without any additional equipment.
As an access point, TinyPilot creates its own Wi-Fi network, allowing you to use a laptop to join the network and access the TinyPilot web interface.
This feature requires TinyPilot Pro 2.6.4 or later or TinyPilot Community 1.9.4 or later.
Setting up the access point
First, SSH into your TinyPilot and run the following snippet, replacing the defaults with values you want to use for your access point:
# Choose the name for the Wi-Fi network that TinyPilot will create.
NETWORK_NAME="TinyPilotWiFi"

# Choose a password for TinyPilot's Wi-Fi network.
# The leading space on the next line excludes it from the shell's history.
 NETWORK_PASSWORD="CHOOSE-A-SECURE-PASSWORD"

# Enter your country code: https://en.wikipedia.org/wiki/ISO_3166-1_alpha-2
WIFI_COUNTRY="US"
Now, run the following commands to set up the Wi-Fi network and access point:
sudo /opt/tinypilot-privileged/scripts/enable-wifi-ap \
  --ssid "${NETWORK_NAME}" \
  --password "${NETWORK_PASSWORD}" \
  --country "${WIFI_COUNTRY}"
Once the commands finish successfully, your TinyPilot will advertise itself as a Wi-Fi access point.
Connecting to your TinyPilot Wi-Fi access point
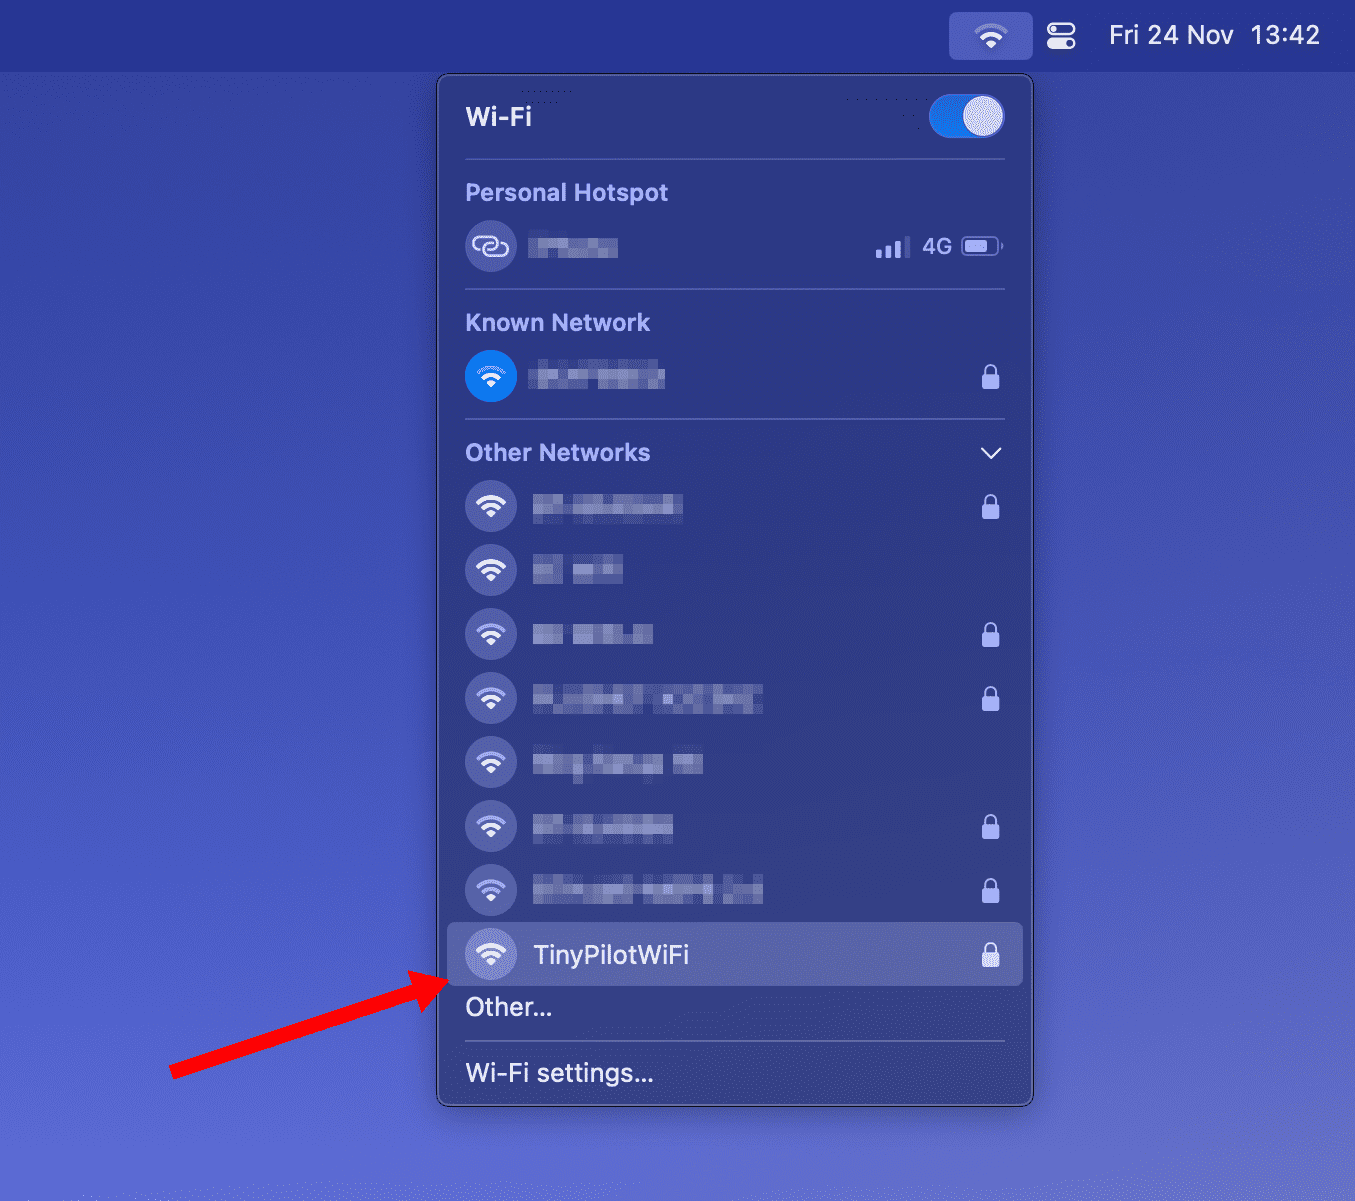
On your client device, open your Wi-Fi network list and select your TinyPilot's access point.
Enter your TinyPilot access point's password and wait for your client to connect. Once connected, you can access your TinyPilot's web interface using https://tinypilot.local.
Note: Your client device won't have access to the Internet in this configuration.
Removing the access point
To disable the access point, SSH into your TinyPilot and run the following command:
sudo /opt/tinypilot-privileged/scripts/disable-wifi-ap
